What is Docker? Docker is a software platform that lets you package, distribute, and run applications in self-contained units called containers. These containers include everything an application needs, such as code, runtime, and libraries, ensuring consistent execution across environments.
How can this be useful? There are many possible uses for Docker containers. You can use it for testing for example. If you have a website running on PHP 8.1 and want to make sure that the switch to PHP 8.3 doesn’t break anything, you can create a container based on PHP 8.3 and fully test your application there before switching to the main website. Other options include distributing your application to customers as a container or using a container for web hosting if your web hosting provider supports this option.
In this article we will explain how you can package your PHPRunner application as a Docker container.
Docker Desktop Installation
As a first step you need to install Docker Desktop on your local computer. Just download it from the official site and install it keeping all the default settings.
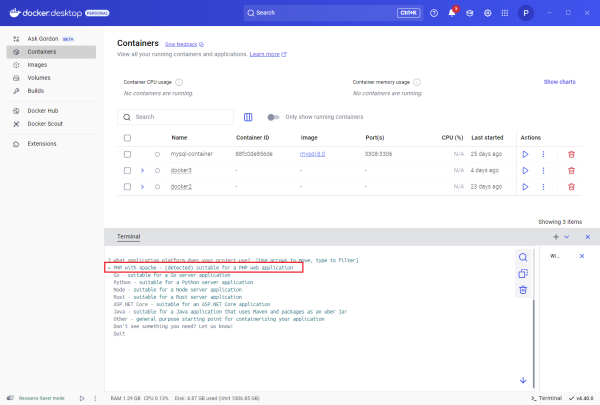
Once Docker Desktop is installed, launch it. The two main parts we will work on are Picture And Container.
Docker images are read-only templates that contain everything needed to run an application, including application code, system tools, and libraries. A Docker container is a running instance of a Docker image. Think of the image as a blueprint and the container as a building built from that blueprint.
Project structure
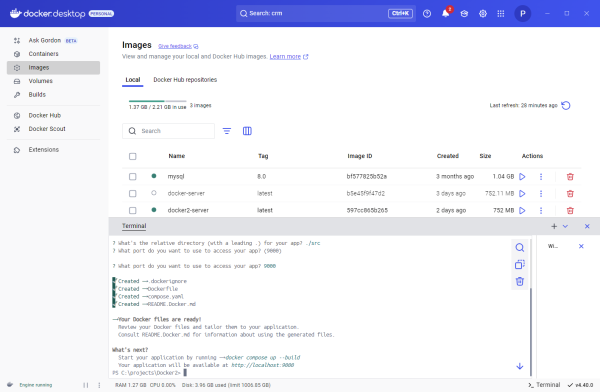
Create a new folder for our Docker project, namely C:\Project\Docker. Here’s what the default Docker project looks like. src the folder needs to be created manually and this is where all our PHP files will be stored. Luckily, we don’t need to create the rest of the files manually, Docker desktop can help us create them.
docker init
Start by opening a terminal (click the Terminal icon in the bottom right corner). First, switch to your project folder and then run it docker init command.
Docker will ask you a few questions about what you want to build. Select the Apache+PHP web application. You can use the up and down keyboard keys to change your selection. Press Enter to make a selection.
For all other questions leave the default options. Docker will build an image for you, based on your choices. On Picture Your tab will now see the new image. Docker will also tell you that you now need to run it docker compile –build command to build and launch your container.
docker file
This is how it started docker file seen. I just removed some additional comments for brevity. Let’s try to create a container and run it.
Get up and running the first time
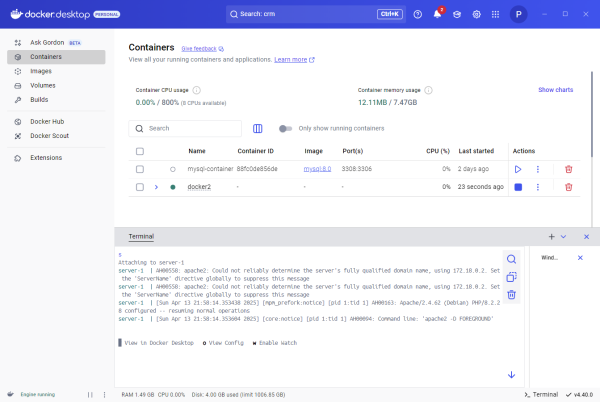
Without making any changes docker file we go back to the terminal and run the suggested build command:
The first build will take about a minute and successive builds will be slightly faster. Dcker does the build and starts our containers. You can view the container status in the Containers tab. You can see that our new container is up and running.
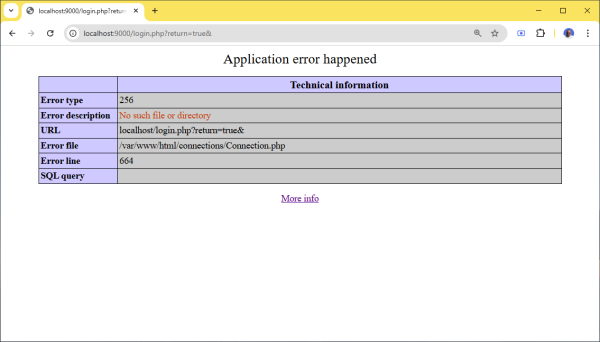
This means we can now open a web browser and type the following URL: http://localhost:9000. Here’s what you should see:
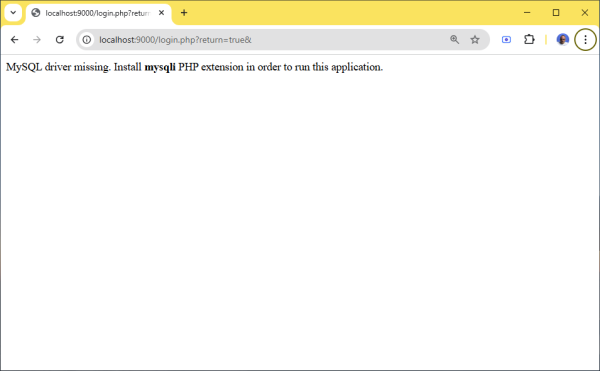
Good news: our container is actually running.
The bad news: the mysqli extension is missing and we can’t connect to MySQL.
Installing the mysqli extension
A quick Google search for “docker php install mysqli” led us to the solution and we modified it docker file in any text editor add lines 7 and 8.
Now we stop the container, run the build command again and once finished we refresh our browser window. This takes us one step further but we’re not quite there yet.
Although this error is not very descriptive, we can guess that our application cannot connect to MySQL. We use “localhost” as the MySQL server address which in the case of containers refers to the container itself. We need to find a way to connect to MySQL on the host which is our local computer running Docker desktop. Another quick Google search for “docker connect to host from container” leads us there host.docker.internal which we need to use instead local host when connected to MySQL.
We proceed to PHPRunner, create a new Server Database Connection on the ‘Output Directory’ screen and change the MySQL server address as follows:
And try again
1. Stop the container
2. Build the PHPRunner project (make sure new connection is selected)
3. Copy all files from the PHPRunner output folder to C:\Projects\Docker\src
4. Run docker compile –build command once again.
5. Refresh the browser window
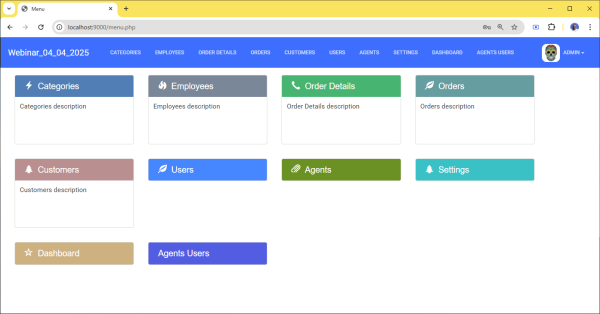
It’s running!
Additional note. You can make your containers connect to any database. This can be a database that is part of the same container (although not recommended), or a database running in another container or any external database server. All you need to do is direct the database connection to the database of your choice.
Teknologi Terkini
Agen Togel Terpercaya
Bandar Togel
Sabung Ayam Online
Berita Terkini
Artikel Terbaru
Berita Terbaru
Penerbangan
Berita Politik
Berita Politik
Software
Software Download
Download Aplikasi
Berita Terkini
News
Jasa PBN
Jasa Artikel
News
Breaking News
Berita